API Integration with NetPayDue
Introduction
Thank you for your interest in integrating your solution with NetPayDue via APIs. We use OAuth2 and OpenID Connect technologies to ensure a robust and straightforward integration process. The integration involves two main steps, detailed below.
Steps for Integration
A. Authorisation Integration
This step guides you through setting up the API link with NetPayDue using OpenID Connect. This approach simplifies the coding process significantly. Detailed instructions will be provided to ensure a smooth setup.
B. Business API Integration
NetPayDue offers various business APIs tailored to different applications. You can select the API that best matches your business requirements. Comprehensive details will be provided to help you choose and implement the appropriate API for your needs.

A. Authorisation Integration
Authorisation Integration involves establishing an API link with NetPayDue. The required steps are as follows:
A1) Sign Up
Create an account on NetPayDue.com
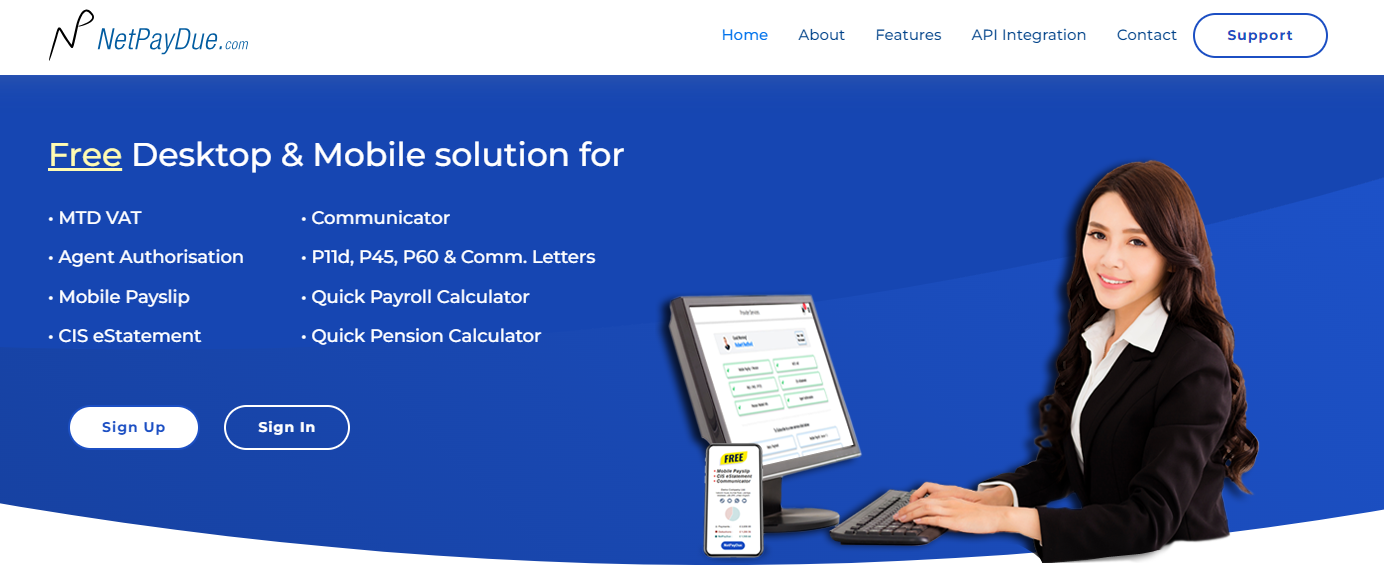
- Visit https://www.netpaydue.com/ and click on the Sign Up button.
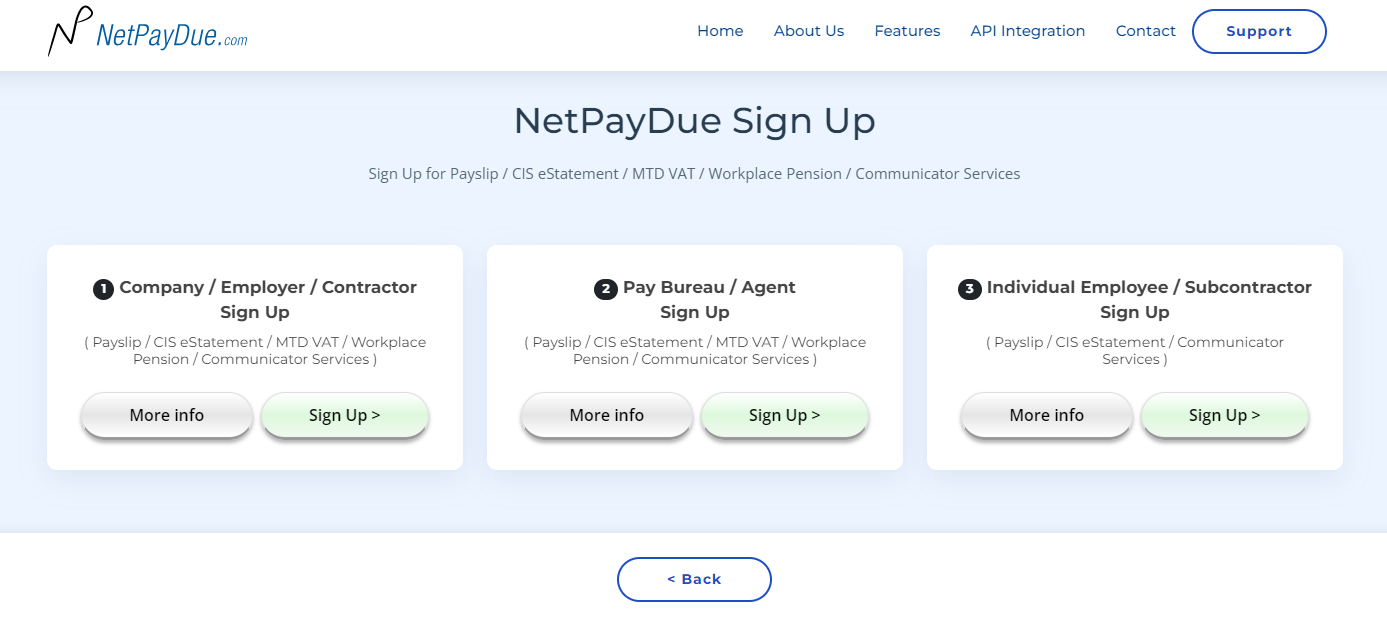
- Click on the Sign Up button under the Pay Bureau / Agent Sign Up section.
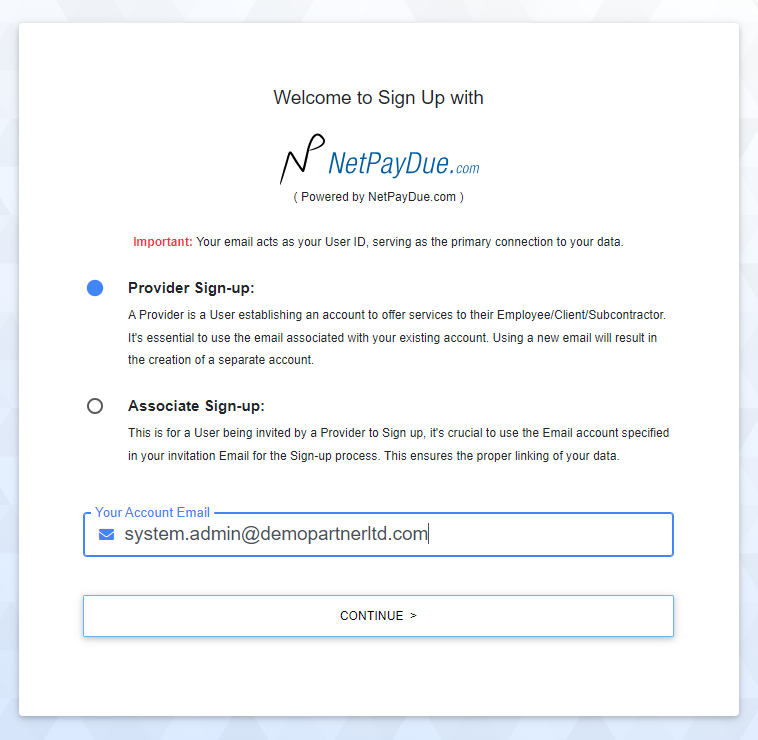
- Select Provider Sign-up option, provide your Email ID to be used for the user account, and click on the Continue button.
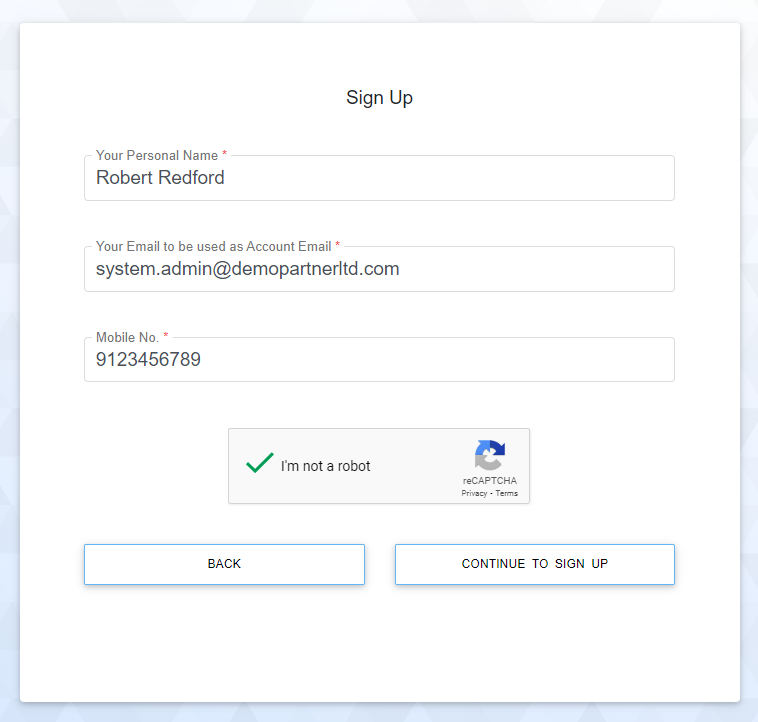
- Enter your personal name, your mobile number, click on "I am not a robot," and then click on the Continue to Sign Up button.
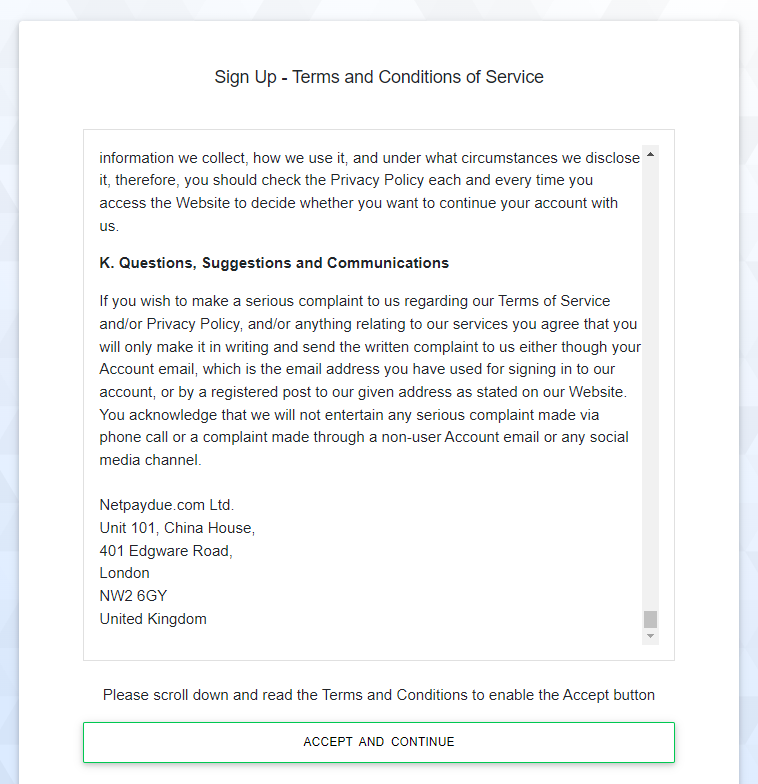
- Read all the terms and conditions and click on Accept and Continue.
- Sign into your email and check for the Account Email Verification Code mail in your inbox.
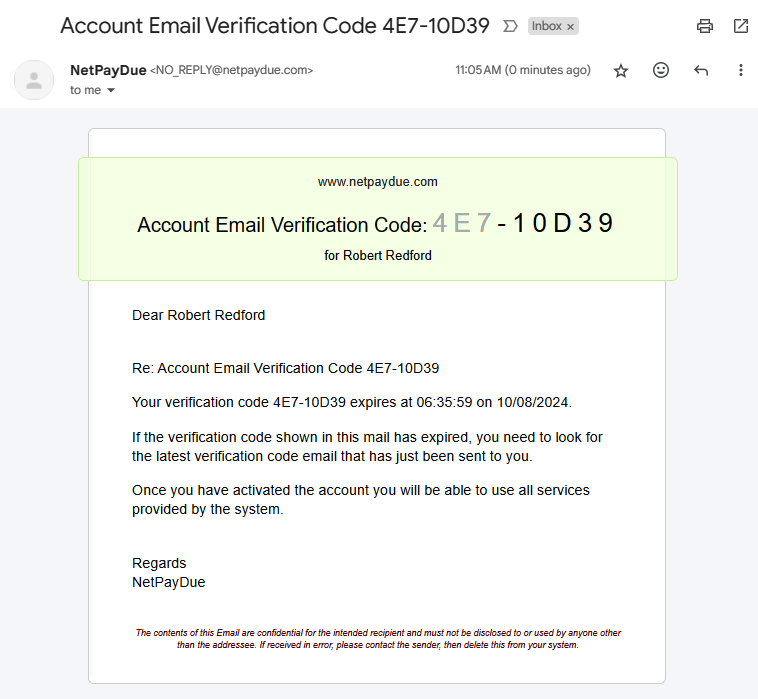
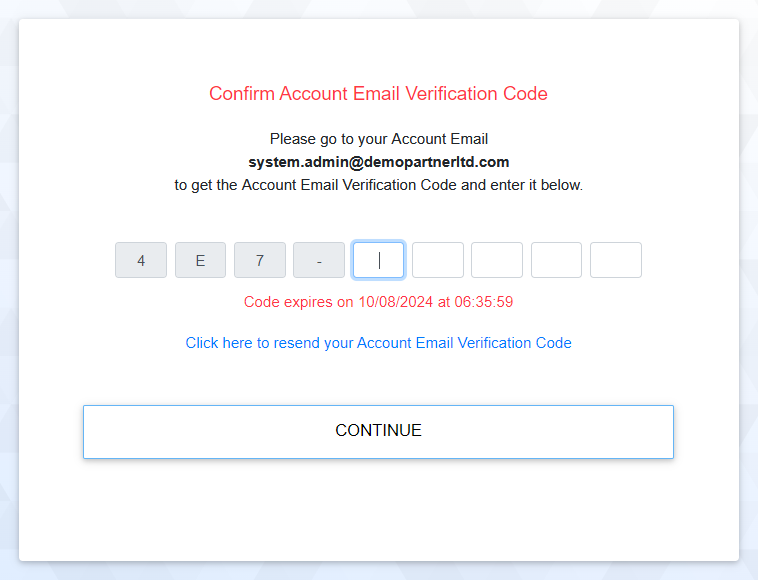
- Enter the last 5 characters of the verification code sent to your email and click on the Continue button.
- Provide your personal details and click on the Continue button.
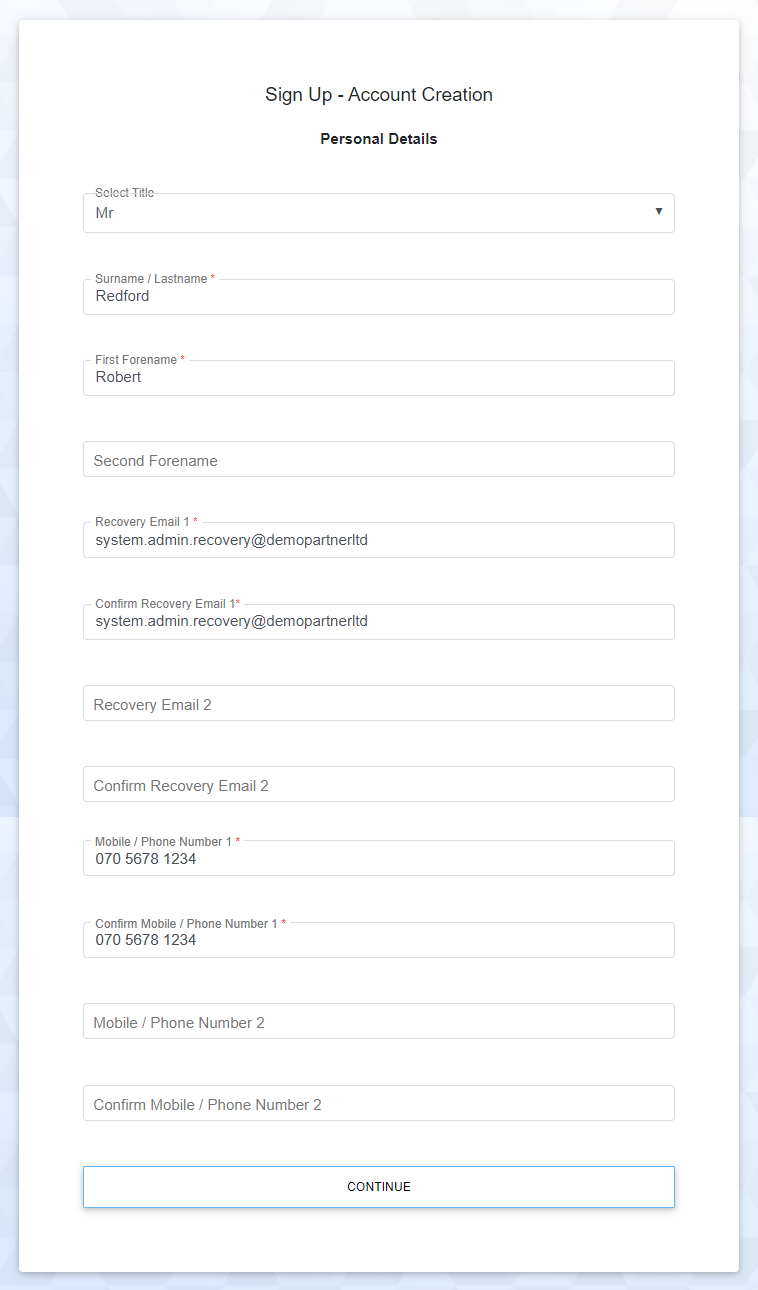
- Enter your address for future correspondence and click on the Continue button.
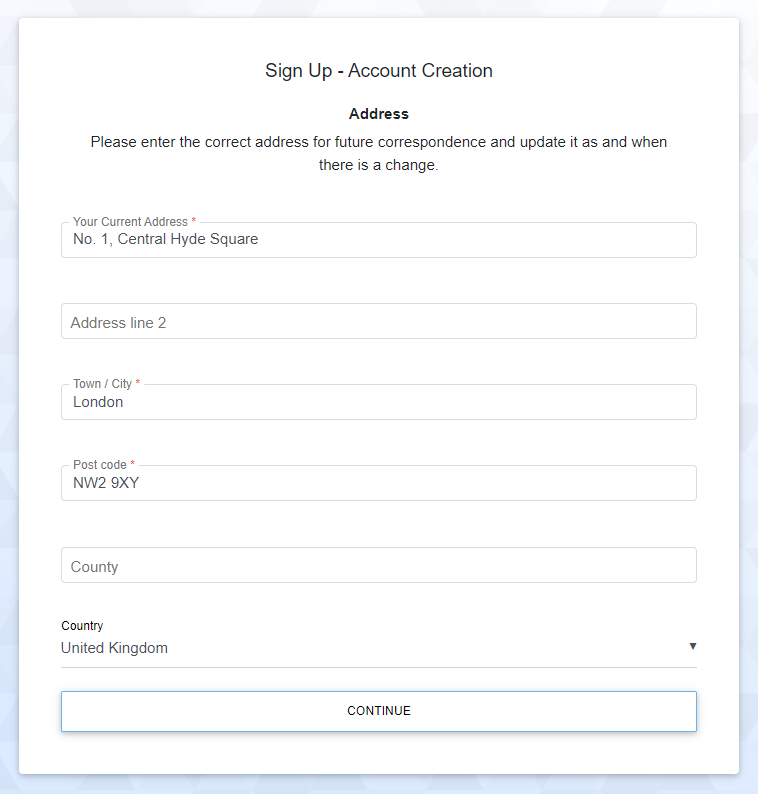
- You will see a successful sign-up message along with the Sign In page.
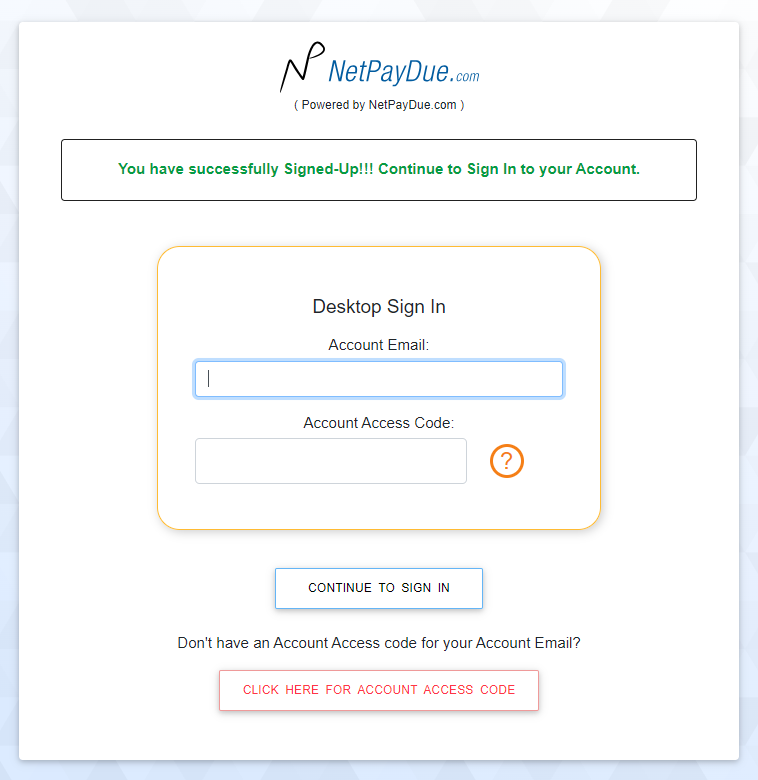
A2) Sign In
Log in to NetPayDue.com and request an API link.
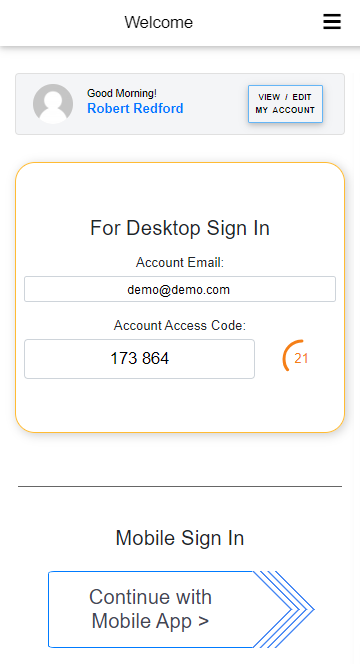
- Sign into your user account first by providing your Account Email, Account Access Code, and clicking on the Continue to Sign In button.
Note: You can obtain your Account Access Code by signing into our NetPayDue Mobile App and registering your mobile device as shown in C1 in the Appendix section.

- Upon successfully signing into your account, you will see a dashboard page.
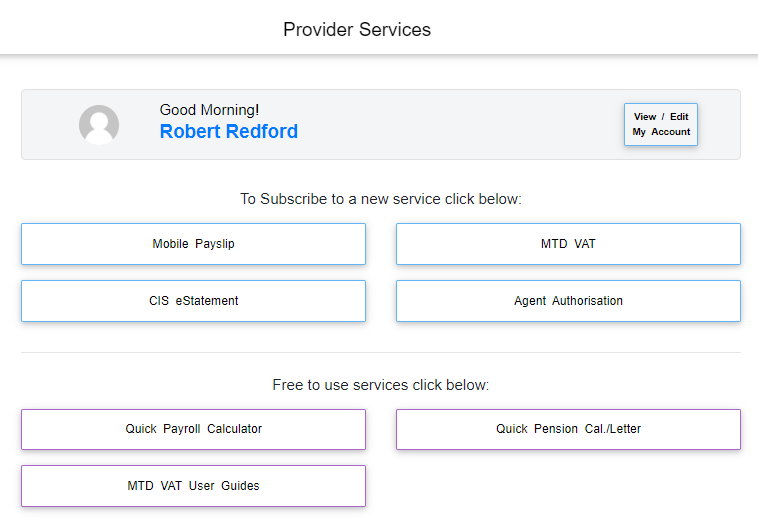
A3) Provide Data
Log in to NetPayDue.com to provide the mandatory and desired data.
- After signing into NetPayDue.com, click on the View / Edit My Account button on the dashboard page to request API onboarding.

- Click on the API/Dropbox Integration Setup button.
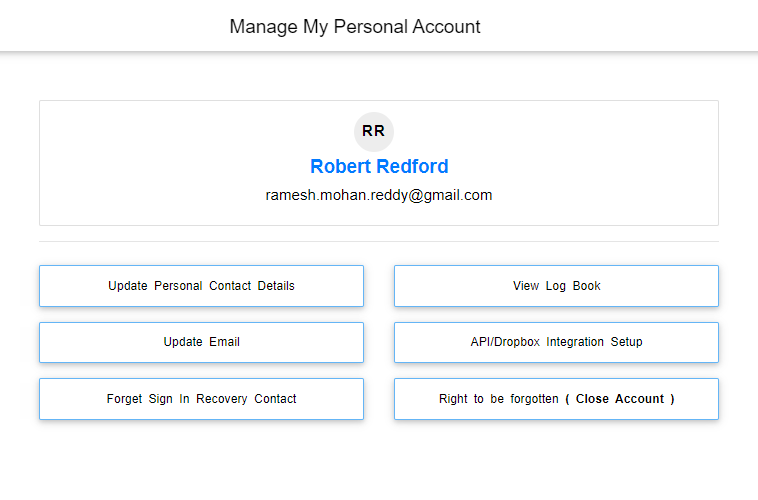
- Click on the API Integration Setup button.

- Provide all relevant information and click on the Submit Request button.
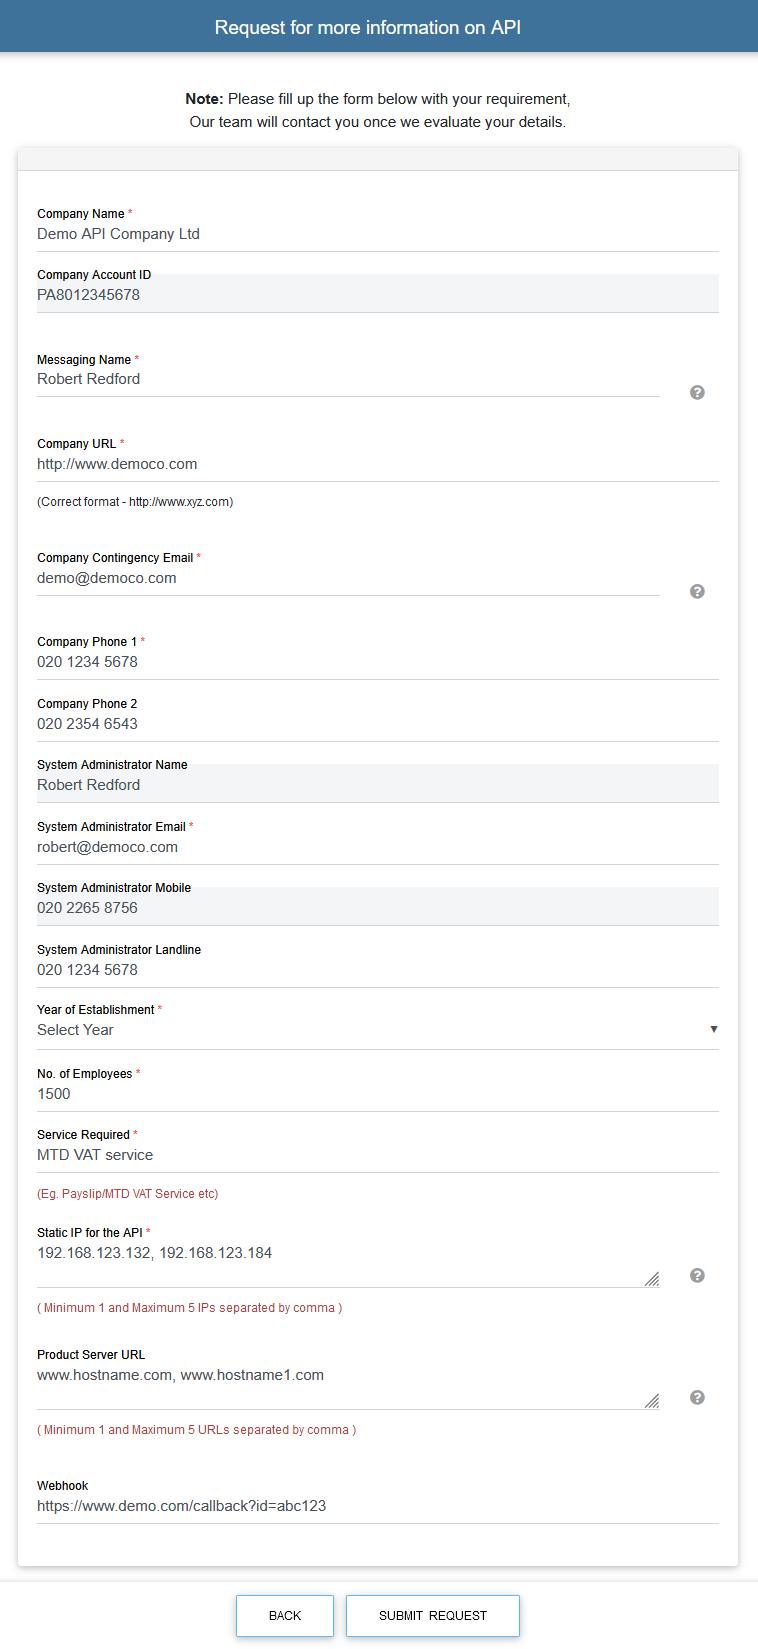
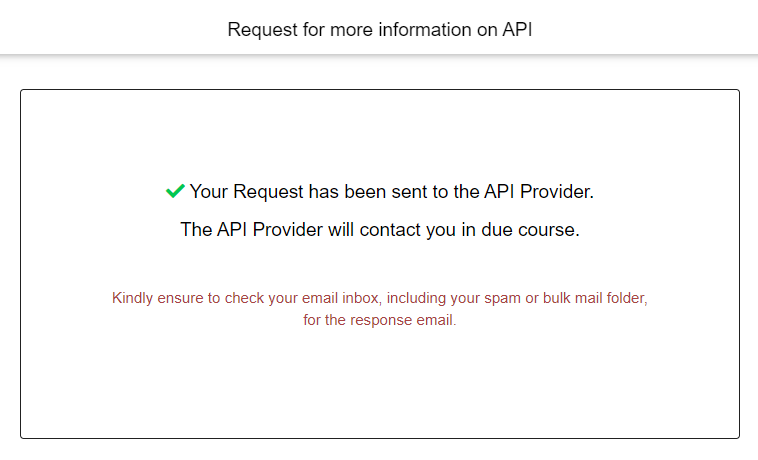
- You will see an acknowledgement page stating your request has been sent to the API provider for approval.
A4) Obtain API Link Codes
Log in to NetPayDue.com to obtain your API link codes.
- After obtaining approval to use our APIs, sign into NetPayDue and click on API Integration Setup.

- Accept the API user agreement and click on the Continue button.
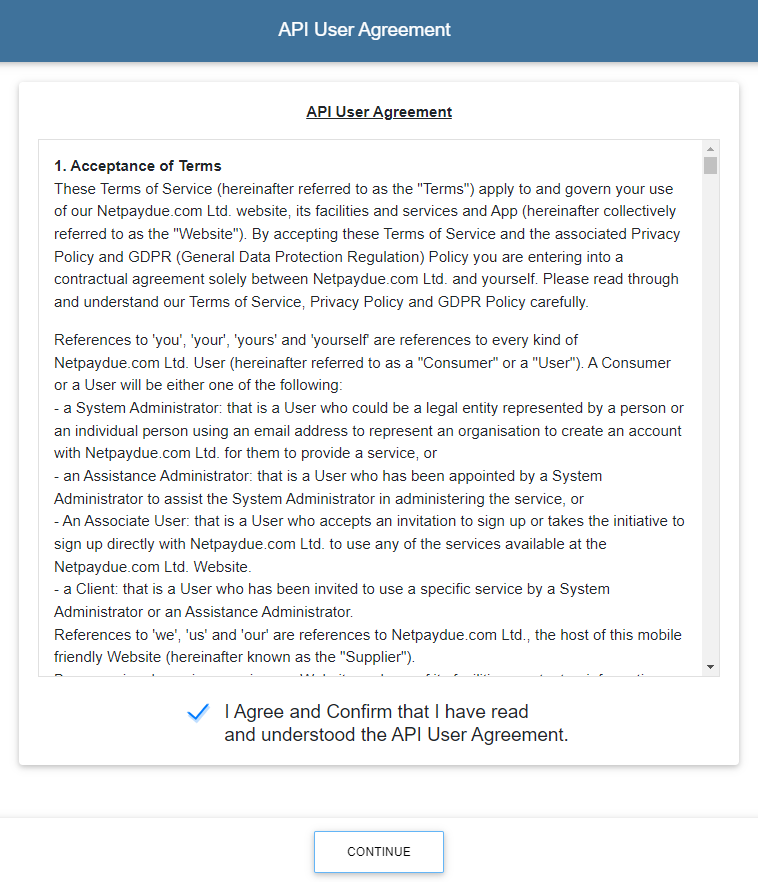
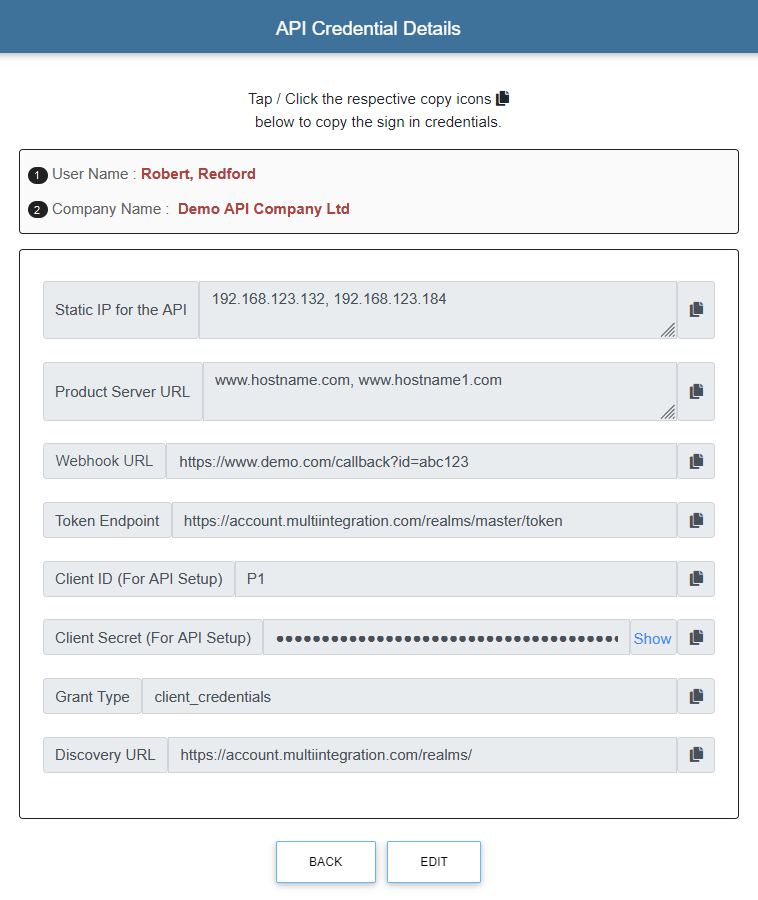
- Click on the API Credentials Details button to get OpenID client credentials.
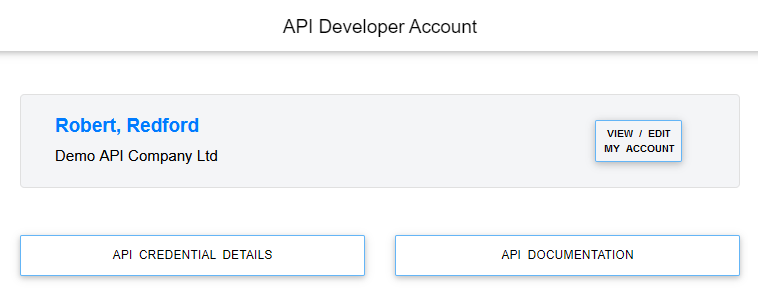
- You will see OpenID client_id, client_secret, and grant_type values. Use these at your side to invoke our Authorisation API to get an access token and then use that access token along with business data to subsequently invoke our business APIs.
A5) Install Link Codes
Input API Link Codes at your Partner System using OpenID Connect.
- Sign into your partner system
- Open your OpenID Connect page
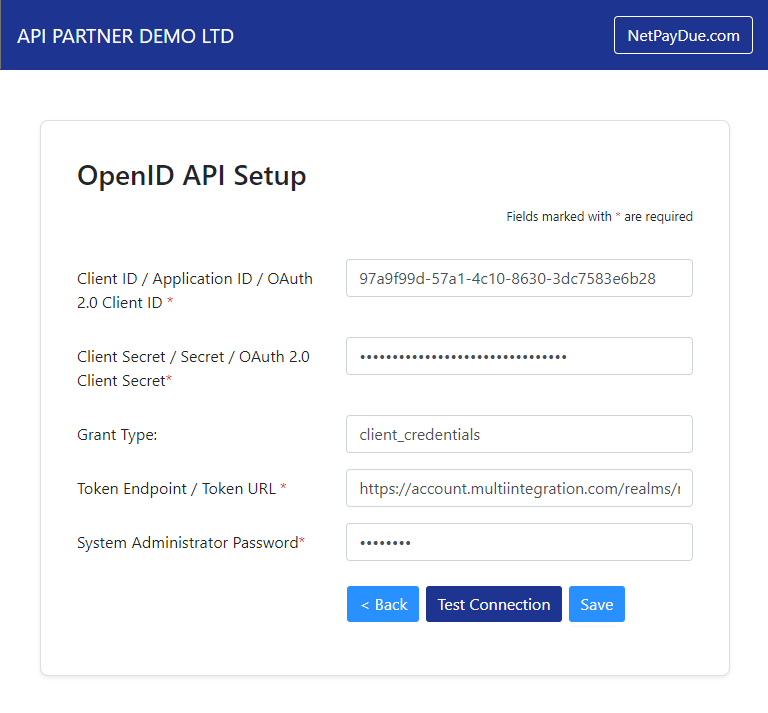
- Enter all the link codes you got from NetPayDue API credential details page
- A possible Partner OpenID Connect layout Page.
A6) Test API Link
Test the API link to ensure it is working correctly.
- A sample access token obtained from Authorisation API by using API client credentials.

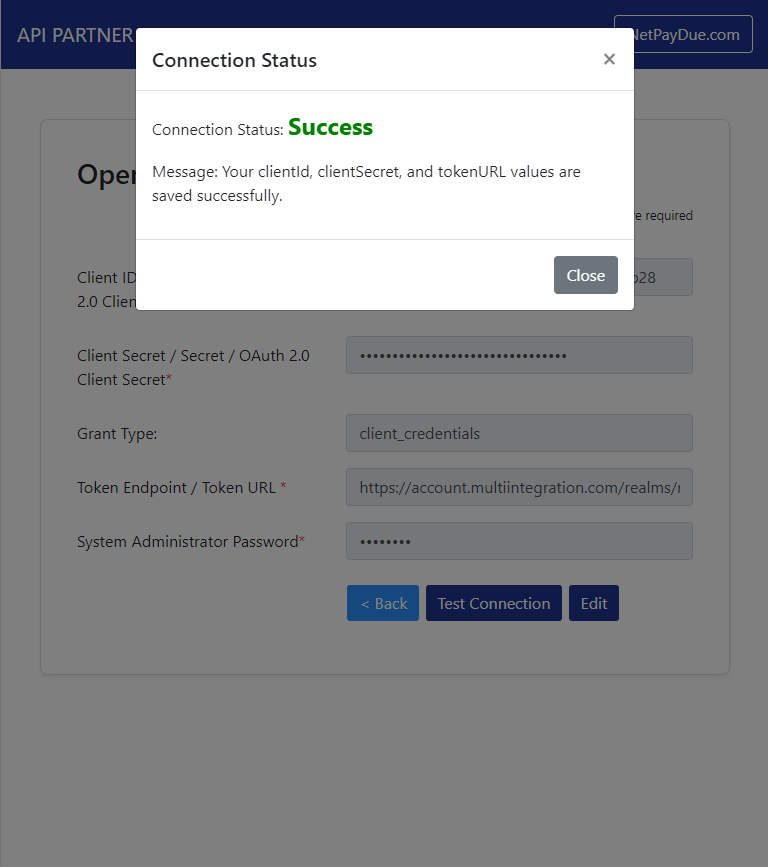
- Click on the Save button to save client credentials temporarily in the session within our API Consumer Demo application. You will see credentials saved as below.
- Now, you are ready to consume our business APIs. To test if you are able to consume one of our business APIs, set up a client by going to the starting page of our API Consumer Demo application.
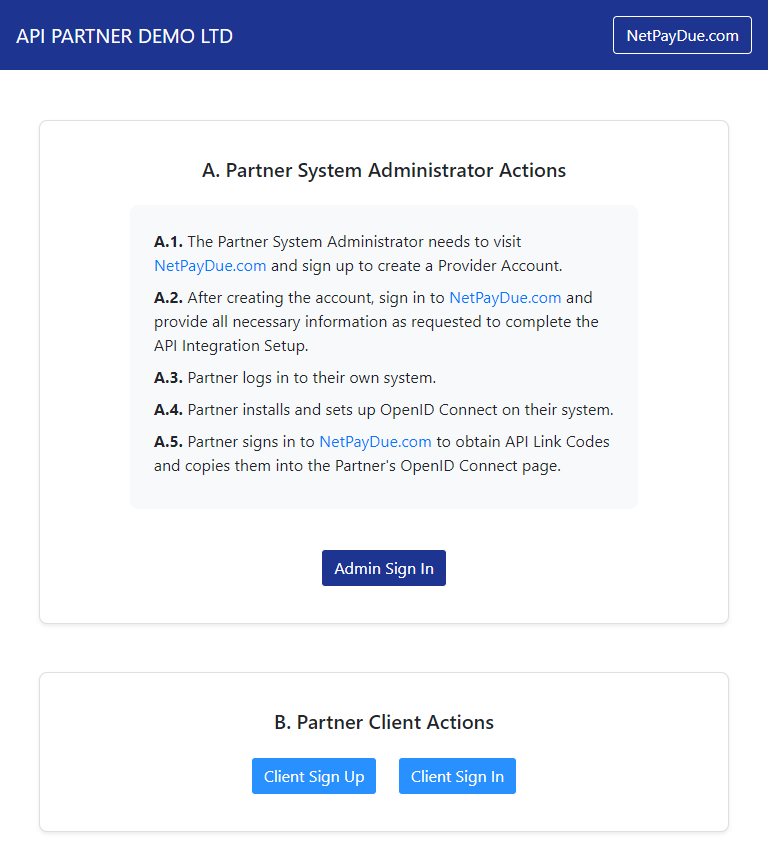
- Click on Partner Client’s Sign Up and provide Partner Client’s Email Id, Mobile Number and VRN number and then click on Save button.
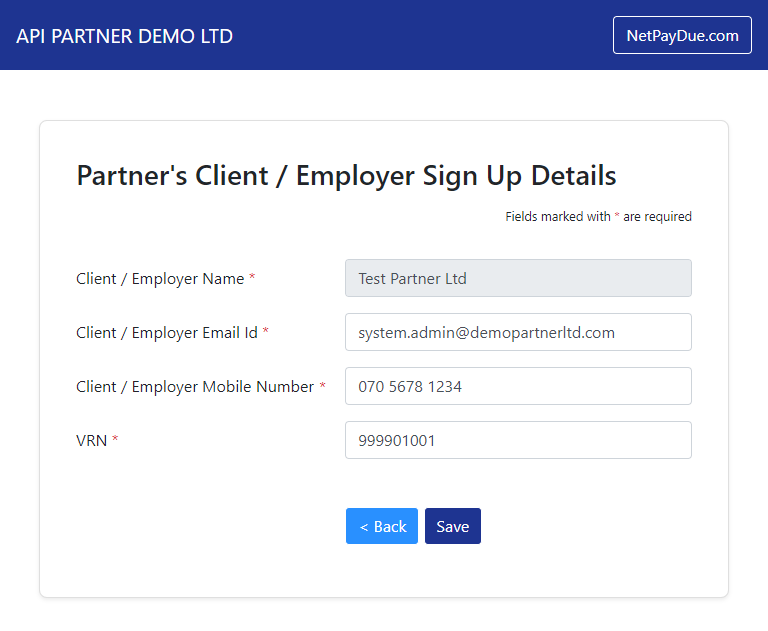
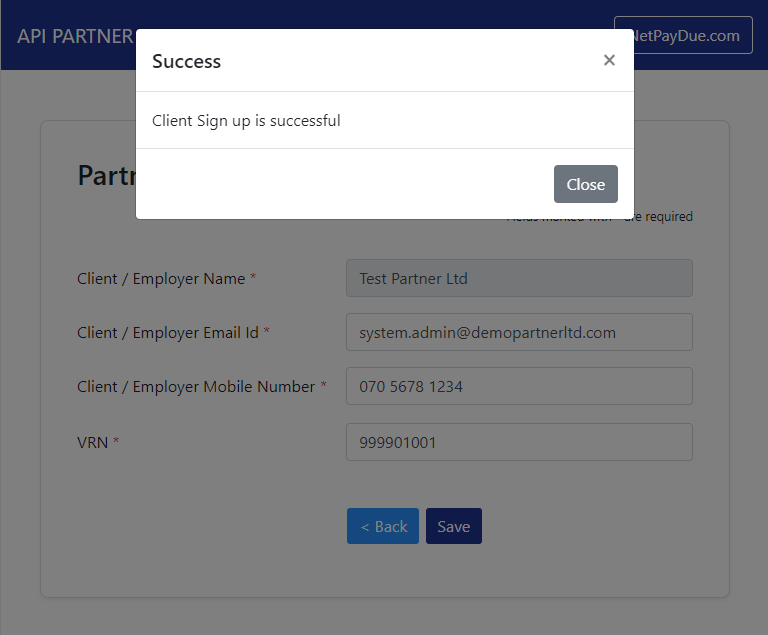
- You will get an acknowledgement that client details are saved as below.
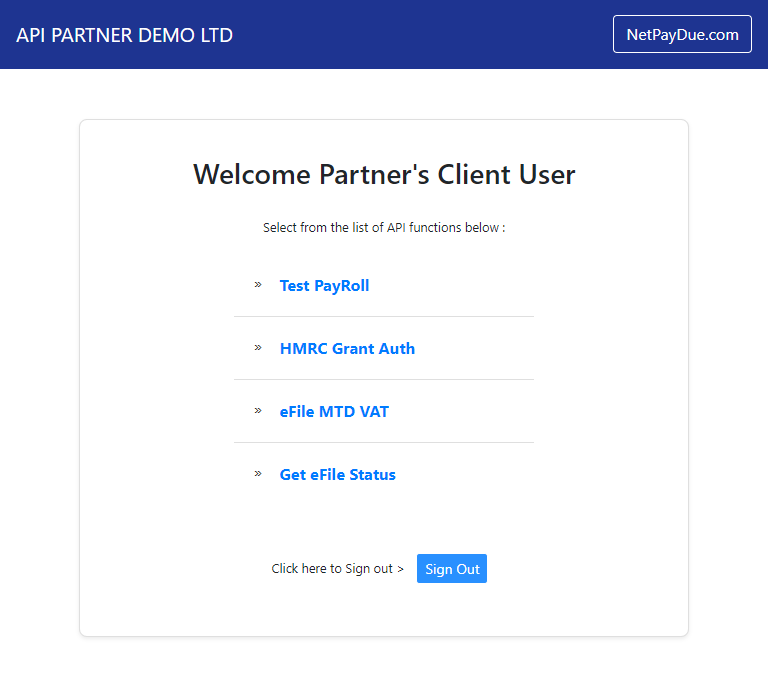
- Now, click on Partner Client’s Sign In button.

- Click on Test Payroll link.
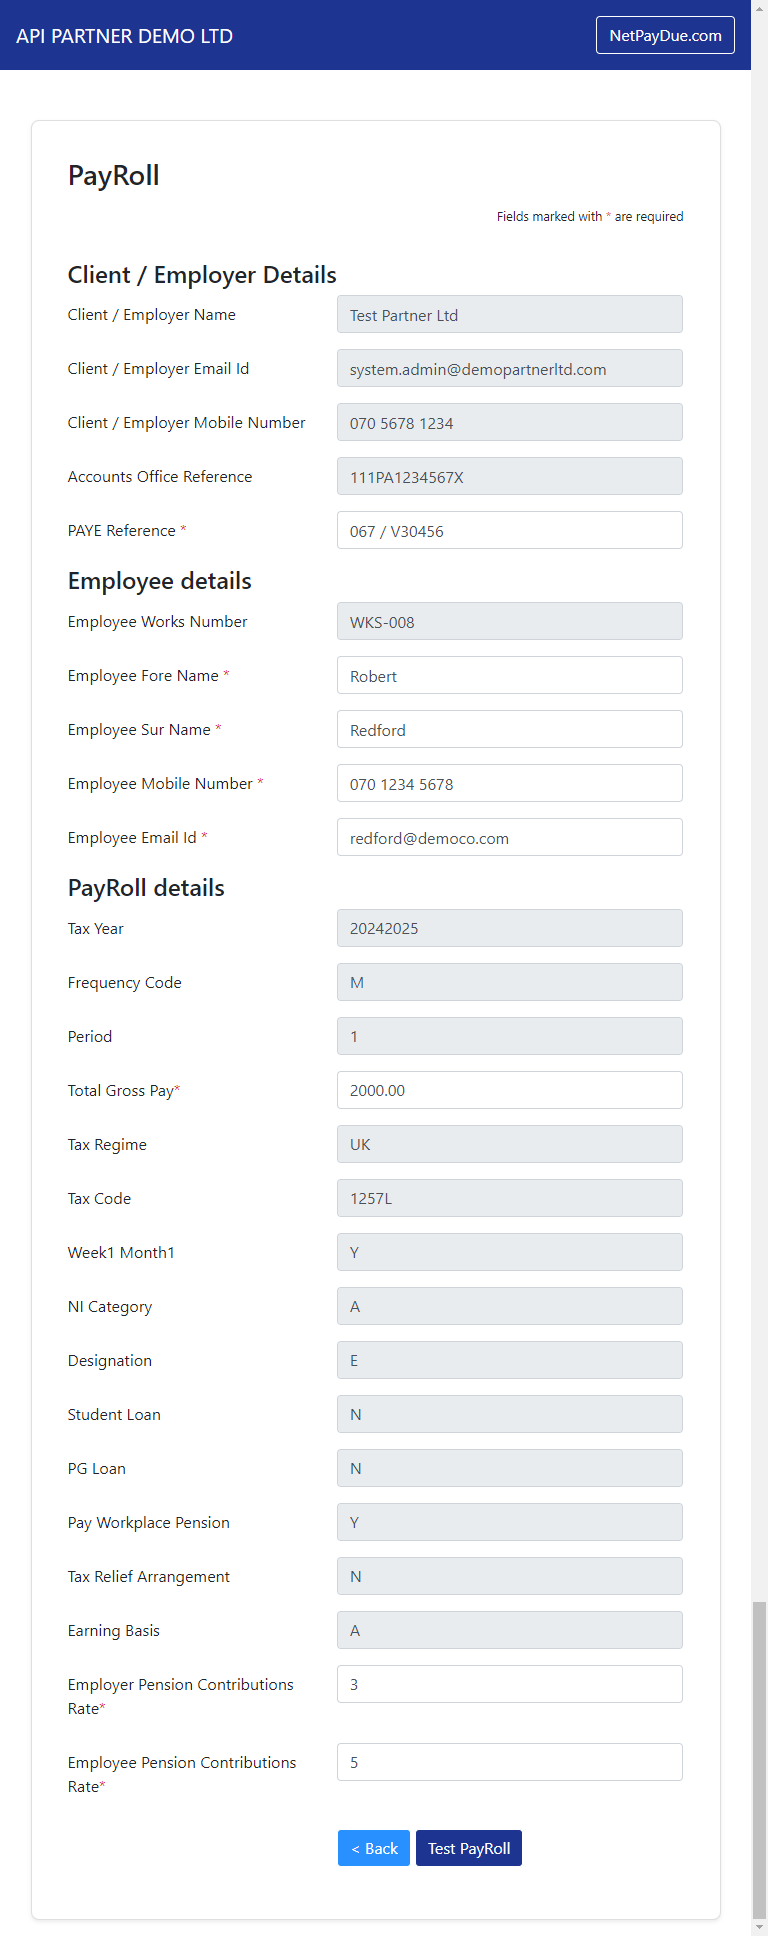
- Enter all the relevant details and click on the Test Payroll button to call our business API to calculate the details instantly.
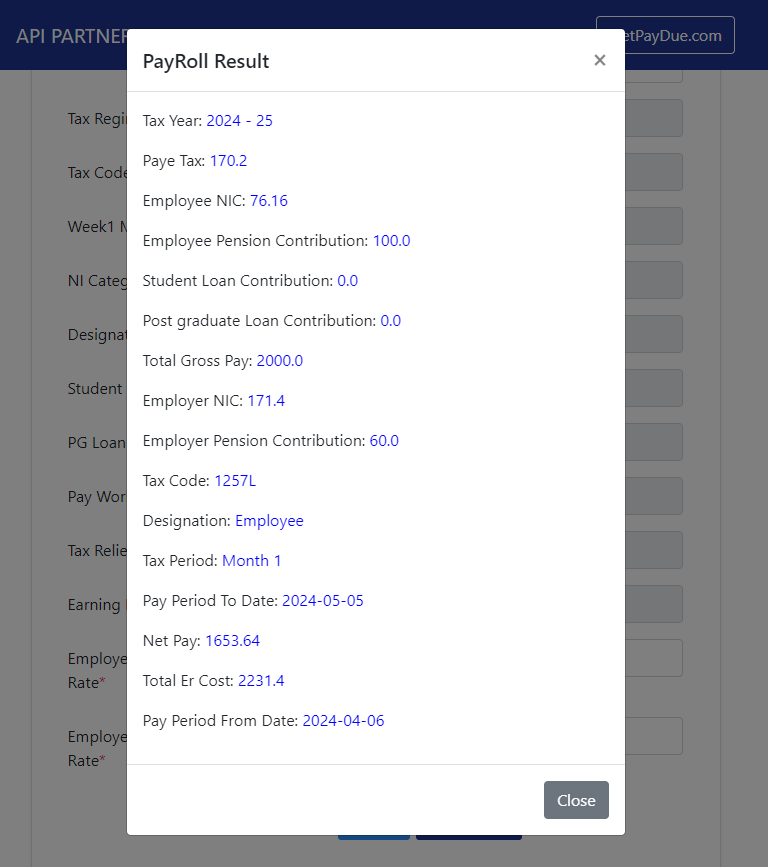
- A sample calculated results is shown below.
A7) Troubleshooting and Updates
Perform any necessary troubleshooting and updates.
- If you face issues getting an access token, verify the OpenID client credentials.
- If you face issues invoking the business API, ensure you are invoking from pre-arranged static IPs configured within NetPayDue.
If you need any further assistance, our support team is always ready to help.
B. Business API Integration
NetPayDue offers various business APIs tailored to different applications. Each business API is designed to meet specific solution requirements systematically. Please choose the required business API and follow the respective instructions provided.
Example Business APIs:
B1) Test Payroll API
Use this API to handle and process payroll calculations.
B2) MTD VAT API
Use this API for submitting MTD VAT returns through HMRC.
For the complete list of all business APIs, please click on API Documentation
Conclusion: We hope this guide provides you with a clear understanding of the API integration process with NetPayDue. By following the step-by-step instructions and referring to the provided screenshots, you can easily set up and utilise our APIs. If you need any further assistance, our support team is always ready to help. Thank you for choosing NetPayDue for your integration needs.
C. Appendix
C1) Getting Account Access Code from NetPayDue Mobile App on your mobile device
- Open NetPayDue Mobile App on your mobile device and click on a particular service that you want (e.g., MTD VAT services).

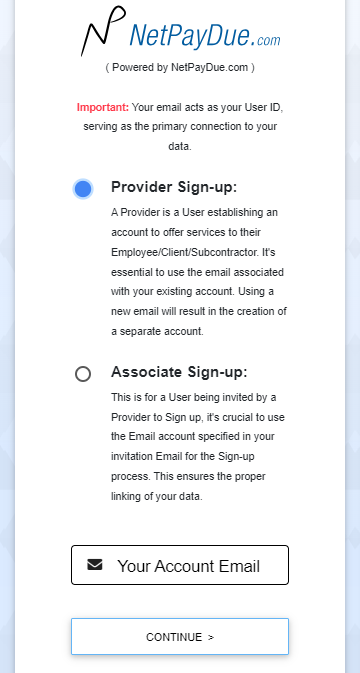
- Select Provider Sign-up option, your Account Email used during the initial sign-up, and click on the Continue button.
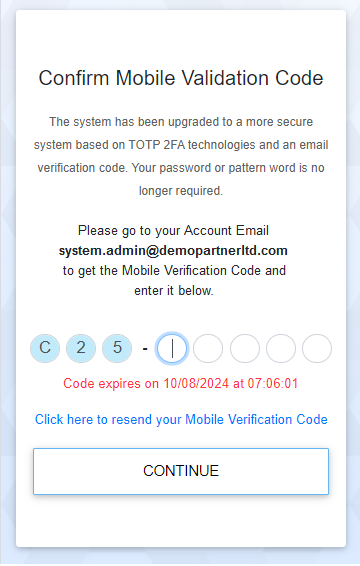
- Provide the last 5 characters of Account Email Verification code received in your email inbox and click on the Continue button.
- Create a passcode by providing any 4 digits of your choice.
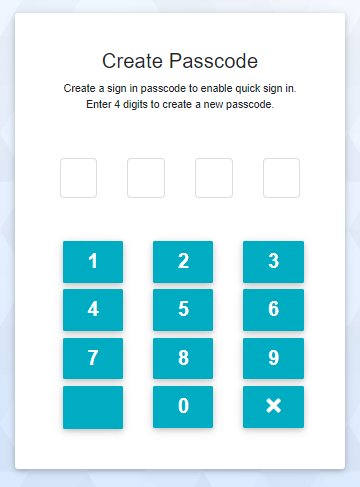
- Confirm passcode by providing the same 4 digits again.
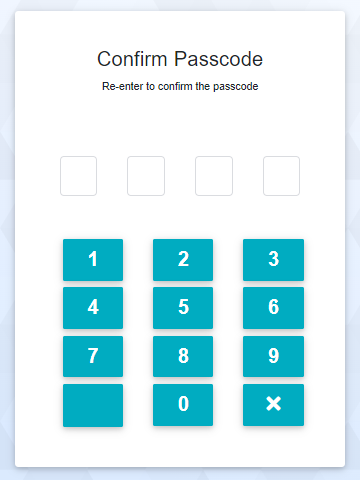
- You will get a confirmation that your mobile device is registered successfully. Click on the Continue Sign In button.

- Choose your Account Email and provide the passcode you provided earlier.
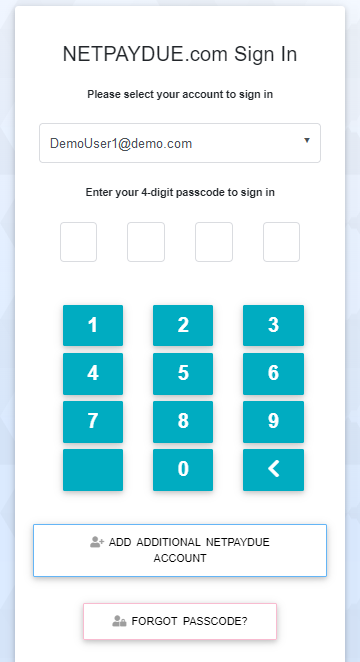
- You will see the starting page where you can see the Account Access Code. Provide this code along with your Account Email when signing into your account using desktop mode.
